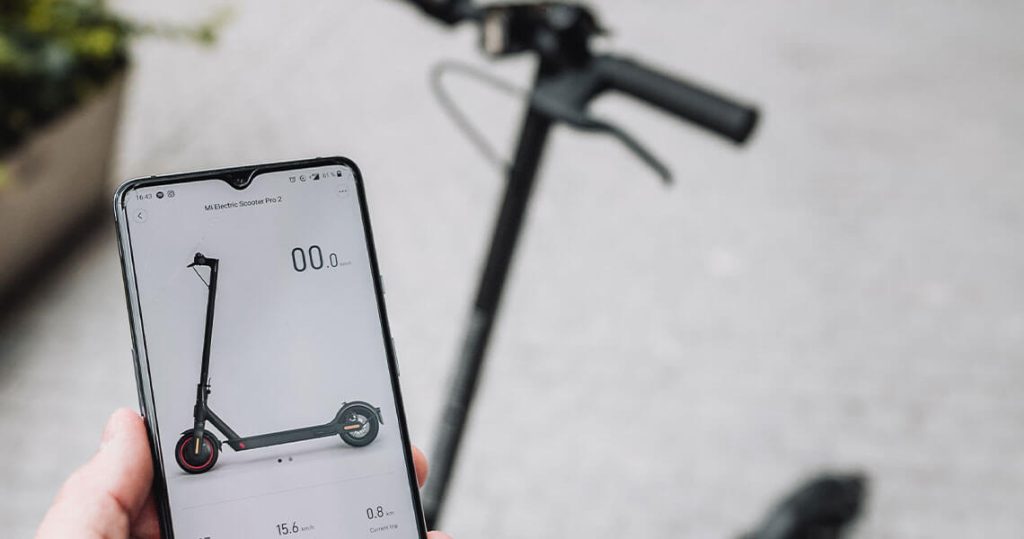
Charging Electric Razor Scooter
Charging your electric Razor scooter properly is crucial for maintaining its performance and ensuring its longevity. Whether you’re a new scooter owner or looking to optimize your charging routine, understanding the best practices for charging electric Razor scooters can help you get the most out of your ride. This guide provides essential information on charging procedures, troubleshooting, and tips for maintaining battery health.
Understanding Your Electric Razor Scooter Battery
Before diving into charging specifics, it’s important to understand the type of battery used in your electric Razor scooter. Most Razor scooters are equipped with lead-acid or lithium-ion batteries, each requiring different charging practices. Knowing your battery type will help you follow the correct charging procedures.
Lead-Acid Batteries
Lead-acid batteries are common in older models and are known for their durability. They typically require longer charging times and are sensitive to overcharging.
Lithium-Ion Batteries
Lithium-ion batteries are more modern and efficient. They charge faster and have a longer lifespan but still require proper care to ensure optimal performance.
How to Charge Your Electric Razor Scooter
Initial Setup
When you first receive your electric Razor scooter, follow the manufacturer’s instructions for charging before your initial use. This initial charge helps calibrate the battery and ensures it performs correctly.
Charging Procedure
- Locate the Charger Port: Find the charger port on your scooter, usually located near the base or on the side of the deck.
- Connect the Charger: Plug the charger into the scooter’s charging port. Make sure it is securely connected to prevent any interruptions during the charging process.
- Plug Into Power Source: Connect the other end of the charger to a power outlet. Use the charger that came with your scooter to avoid compatibility issues.
- Charge Duration: Allow the scooter to charge fully. Charging times can vary based on the battery type and level of depletion. For lead-acid batteries, this might take 8-12 hours, while lithium-ion batteries usually require 2-4 hours.
- Monitor the Charging: Some scooters have indicator lights to show the charging status. Make sure to follow the manufacturer’s guidelines regarding charging duration and indicators.
After Charging
Once charging is complete, disconnect the charger from both the scooter and the power outlet. Store the charger in a dry place to keep it in good condition. Avoid leaving the scooter plugged in after it is fully charged to prevent overcharging and potential battery damage.
Tips for Maintaining Battery Health
Avoid Deep Discharges
Try not to let your battery drain completely before recharging. Frequent deep discharges can shorten the battery’s lifespan. Aim to recharge when the battery level drops to around 20-30%.
Charge Regularly
Even if you’re not using your scooter frequently, it’s a good idea to charge the battery periodically. This helps keep the battery in good condition and ensures it’s ready for use when you need it.
Store Properly
If you’re storing your scooter for an extended period, keep the battery charged to about 50% and store it in a cool, dry place. Extreme temperatures can negatively affect battery performance and longevity.
Use the Right Charger
Always use the charger provided with your scooter or a manufacturer-approved replacement. Using incorrect chargers can damage the battery or lead to unsafe conditions.
Troubleshooting Charging Issues
Scooter Won’t Charge
If your scooter doesn’t charge, check the following:
- Charger Connection: Ensure that the charger is properly connected to both the scooter and the power outlet.
- Power Source: Verify that the power outlet is working. Try plugging another device into the same outlet to confirm.
- Charger Condition: Inspect the charger for any signs of damage. If necessary, use a different charger compatible with your scooter.
Battery Not Holding Charge
If the battery isn’t holding a charge, it could be due to age or a fault. Batteries have a finite lifespan, and older batteries may need replacement. If the problem persists, contact Razor customer support for assistance.
Conclusion
Charging your electric Razor scooter properly is essential for ensuring its performance and extending its lifespan. By understanding the battery type, following correct charging procedures, and implementing maintenance tips, you can enjoy reliable and efficient scooter rides. Regularly monitoring and caring for your scooter’s battery will help you get the most out of your electric scooter and keep it running smoothly.
